


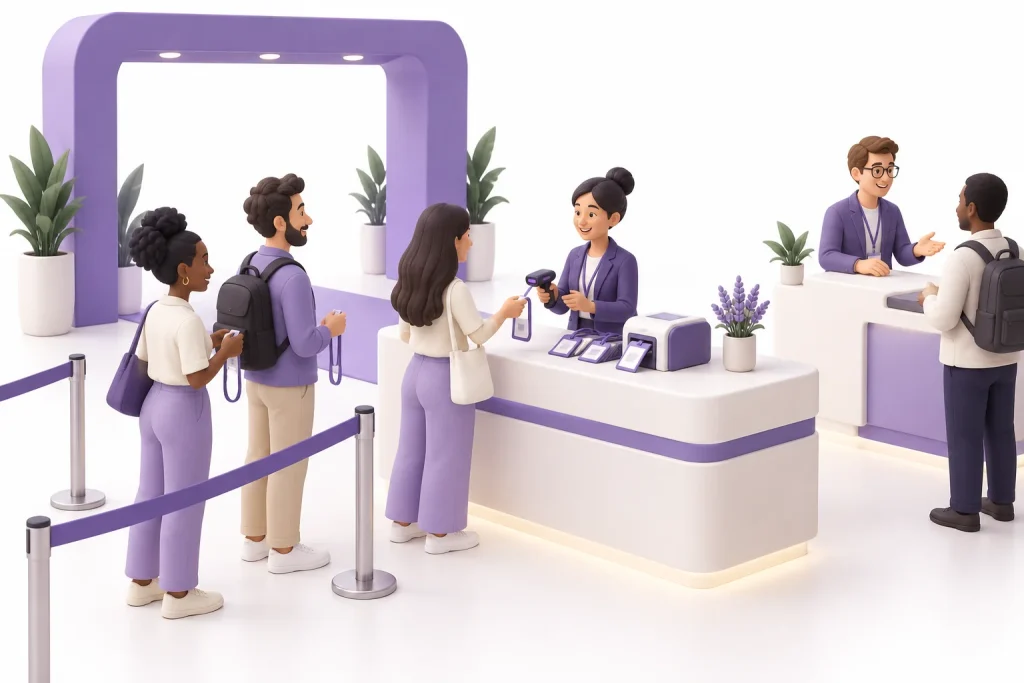
A smooth event check-in starts before the first attendee reaches the desk. The useful question is not simply how quickly a badge can be scanned. It is whether the team can handle an ordinary arrival, a missing pass and an unexpected change without stopping the same queue.
Use this checklist to plan the handoff between registration, arrival and attendee support. Adapt it to your venue, ticket rules and expected arrival pattern.
1. Define what a successful check-in means
Write down what staff must confirm: the attendee’s identity, ticket type, admission status and any access restrictions. Decide whether a scan also issues a badge or whether printing is a separate step. Keep these rules in a short staff guide so different desks give the same answer.
Measure more than total arrivals. Record line wait time at busy periods, the number of guests sent to the help desk and the reasons they needed assistance. These observations show which part of the process needs attention.
2. Prepare the registration data
- Check for duplicate registrations and incomplete names before printing badges.
- Test every ticket category, including speakers, sponsors and staff.
- Confirm how cancellations, ticket transfers and walk-ins will be handled.
- Give each operational task an owner, especially changes made shortly before doors open.
With DigiMeet registration and ticketing, custom forms, flexible tickets and QR check-in can be configured as a connected journey. Agree the event-specific setup with your assigned team rather than assuming every event should use the same fields.
3. Send arrival instructions people can use
Send the entrance location, opening time, pass instructions and a clear support contact. Explain what to do if the pass cannot be found. Keep essential directions in the message itself rather than relying only on a large attachment.
Accessibility belongs in the plan from the start. W3C’s accessible events guidance recommends asking about accessibility requirements and checking facilities and materials. For arrivals, review the route to the desk, readable signage and an alternative way to get assistance.
4. Separate routine arrivals from exceptions
Use a clearly marked help position for missing registrations, changes and access questions. A guest who needs a longer conversation should receive proper attention without holding up everyone ready to enter. Make sure the help team has an agreed escalation contact.
For example, a guest with a valid pass follows the standard scan route. A guest whose ticket category needs correction moves to the help desk. Both remain part of the same arrival process, but their next steps differ.
5. Rehearse the difficult cases
Before opening, try a duplicate scan, an unreadable pass, a name mismatch and a printer interruption. Check power, connectivity, supplies and staff access. Document a fallback with your technology team; do not assume offline scanning or automatic reconciliation is available unless it has been configured and tested.
A final desk-ready checklist
- Each desk has a named owner and a tested device.
- Staff know the ticket rules and escalation route.
- Arrival instructions explain the correct entrance.
- The help desk can resolve exceptions.
- The team has rehearsed the agreed fallback.
After the event, review the exception log while the details are fresh. Combine that learning with your networking plan so a good arrival leads naturally into useful conversations.